Animation on Scroll
This lesson shows you how to create a site that animates when scrolling to a particular part of the page. We'll use a library called "AOS - Animation on Scroll" to have page elements fade-left, fade-right, fade-in and zoom-in. AOS allows you to use predefined animations such as fades, flips, slides, and zooms. I've created a demo page that is shown in the window below. Scroll down the page and notice that page elements have animation applied when they appear in the viewport.
The documentation for the AOS library can be found at: http://github.com/michalsnik/aos. Examples of use can be found at: https://michalsnik.github.io/aos.
Follow the series of steps below.
1. Download and extract the images.zip file used in these lessons. The file will expand into an "images" folder. Place the folder into the same folder as the HTML file you create.
2. Review the site in the window below or go to it at: http://grid-layout.com/extras/animate/animation-after.html. Notice how page elements animate as you scroll down the page. Notice too that they move out when scrolling up the page and how they repeat the animation when scrolling back down the page.
3. Load the following page, view source, then copy and paste the text into a new text document. I recommend using Brackets for creating your pages. Save the document as animate.html. This will be the starting point for our lesson.
http://grid-layout.com/extras/animate/animation-before.html.
4. Add the following code for the CSS library to the head section of the document, as below.
<link href="https://unpkg.com/aos@2.3.1/dist/aos.css" rel="stylesheet">
</head>
5. Place the following link to the JavaScript library, along with the JavaScript, just before the closing </body> tag.
<script>
AOS.init();
</script>
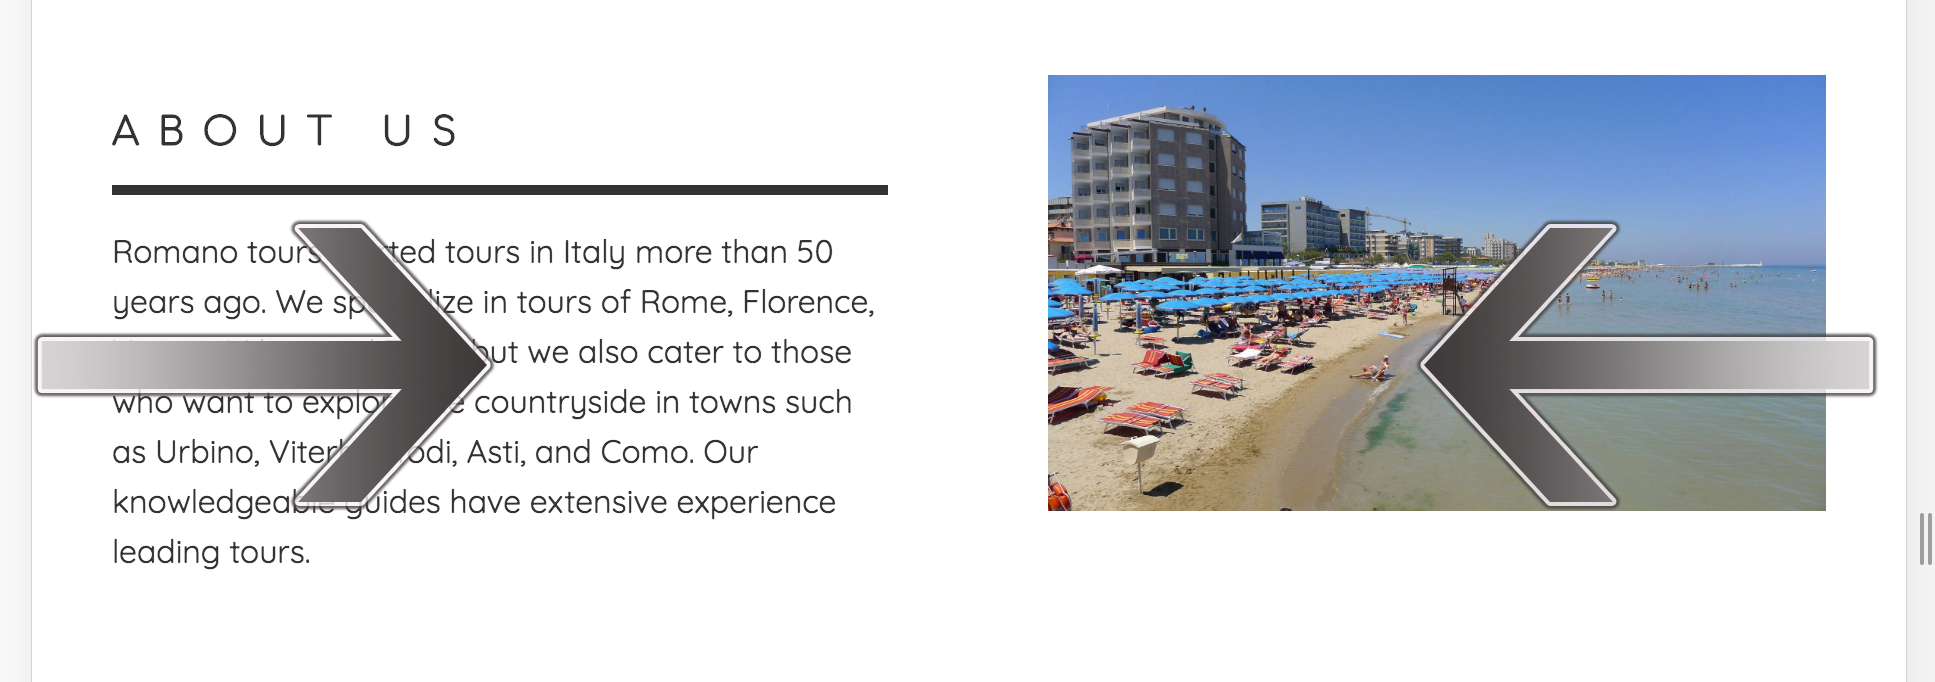
The second pane from the top of the page (shown to the left) includes a two column layout with text on the left and an image on the right. Notice on the site that when you scroll down to see this pane, the text fades in from the left and the image fades in from the right.
6. The first element to which we want to add animation is a <div> with a class of about-text. We will add some "data-aos" atributes to that element to make it fade in from the left, or in other words - fade-right. Find <div class="about-text"> within the HTML of the document (in Brackets it should be about line 378) and add the following in orange.
7. Do a similar process for the photo on the right side. The photo is inside a <div> with a class of about-photo. Notice this one uses "fade-left" instead of "fade-right".
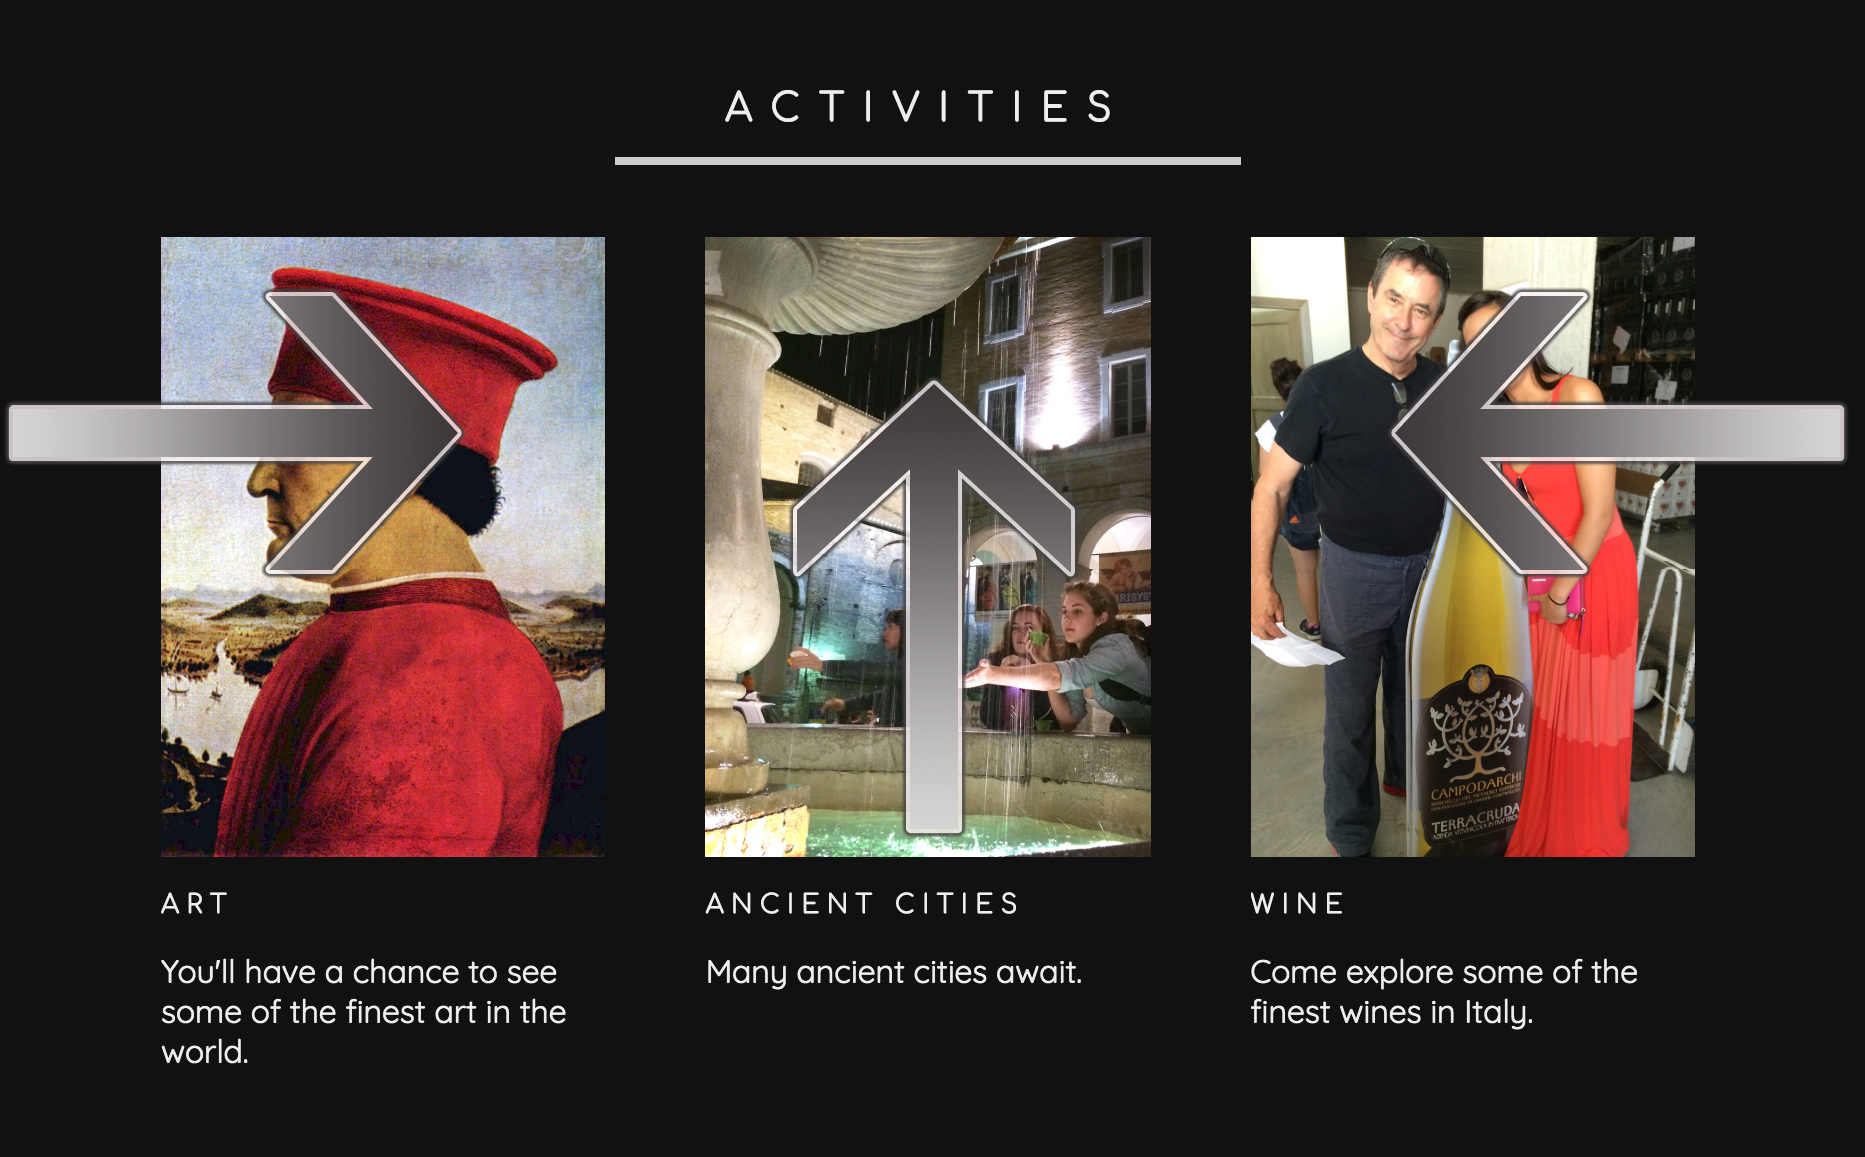
We can do something similar to the next pane (shown left) on the page as well. In this case, the image on the left and right both fade in the same manner as the previous pane, but the middle image fades up.
8. Apply the following AOS attributes to the elements listed below.
<div class="activities-photo1" data-aos="fade-right" data-aos-duration="2000" data-aos-delay="200">
<div class="activities-photo2" data-aos="fade-up" data-aos-duration="2000" data-aos-delay="200">
<div class="activities-photo3" data-aos="fade-left" data-aos-duration="2000" data-aos-delay="200">
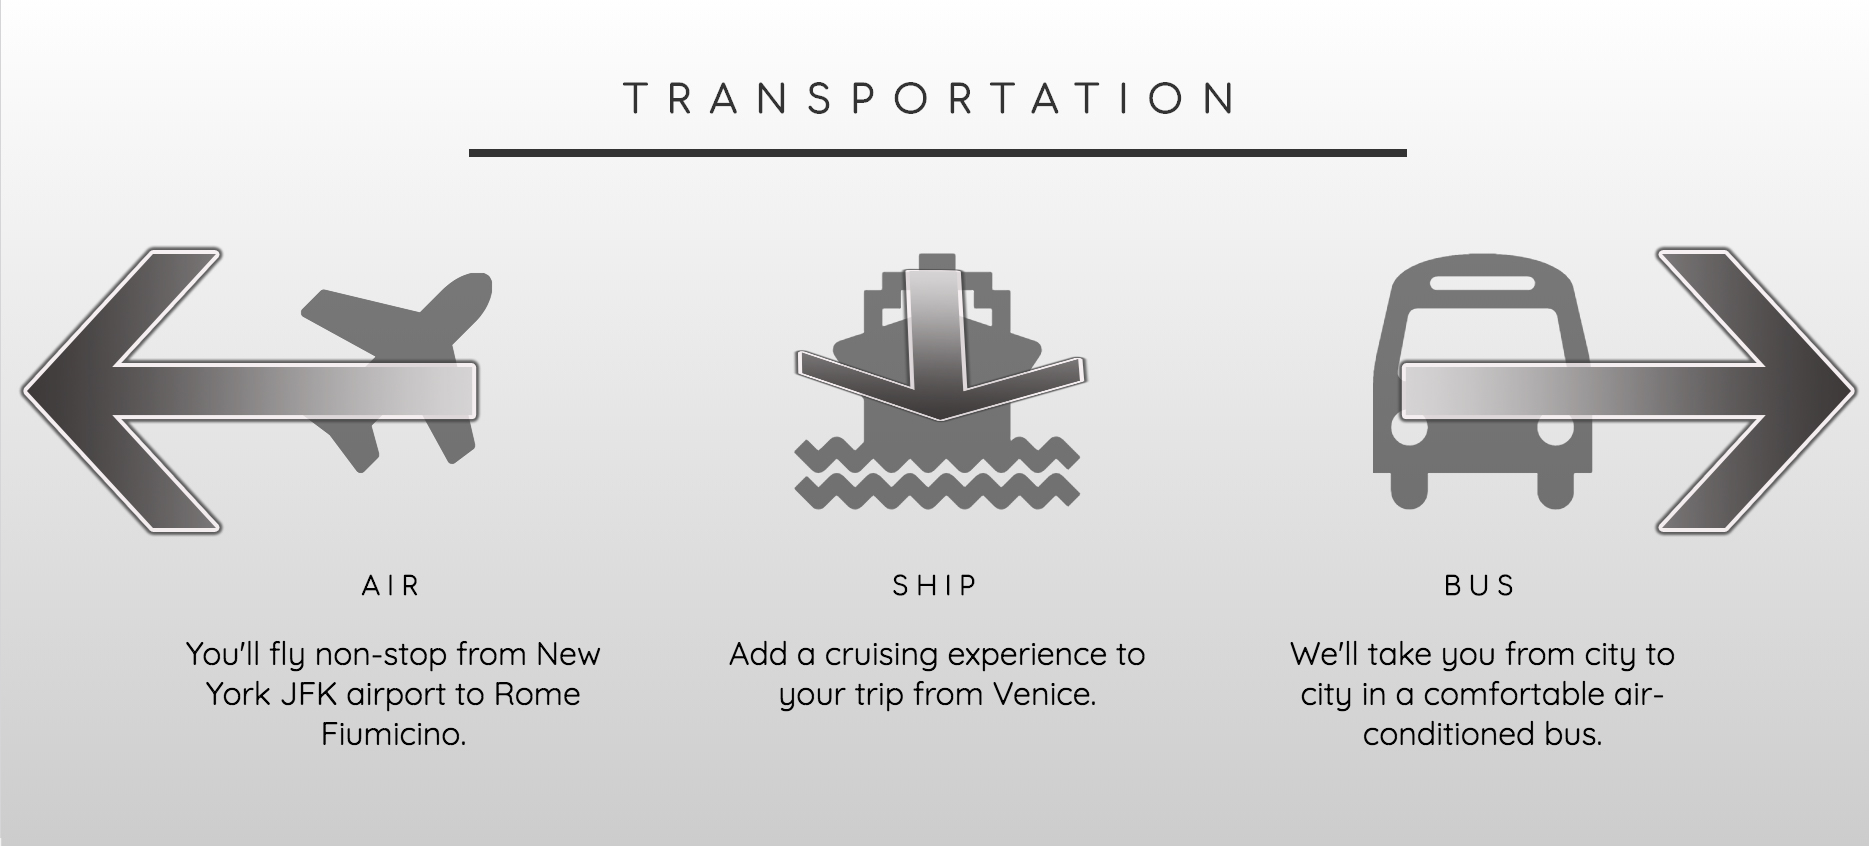
The next pane fades the areas on the left and right toward the outer areas of the page, while the middle area zooms in.
9. Apply the following AOS attributes to the elements listed below.
<div class="transportation-icon1" data-aos="fade-left" data-aos-duration="2000" data-aos-delay="200">
<div class="transportation-icon2" data-aos="zoom-in" data-aos-duration="2000" data-aos-delay="200">
<div class="transportation-icon3" data-aos="fade-right" data-aos-duration="2000" data-aos-delay="200">
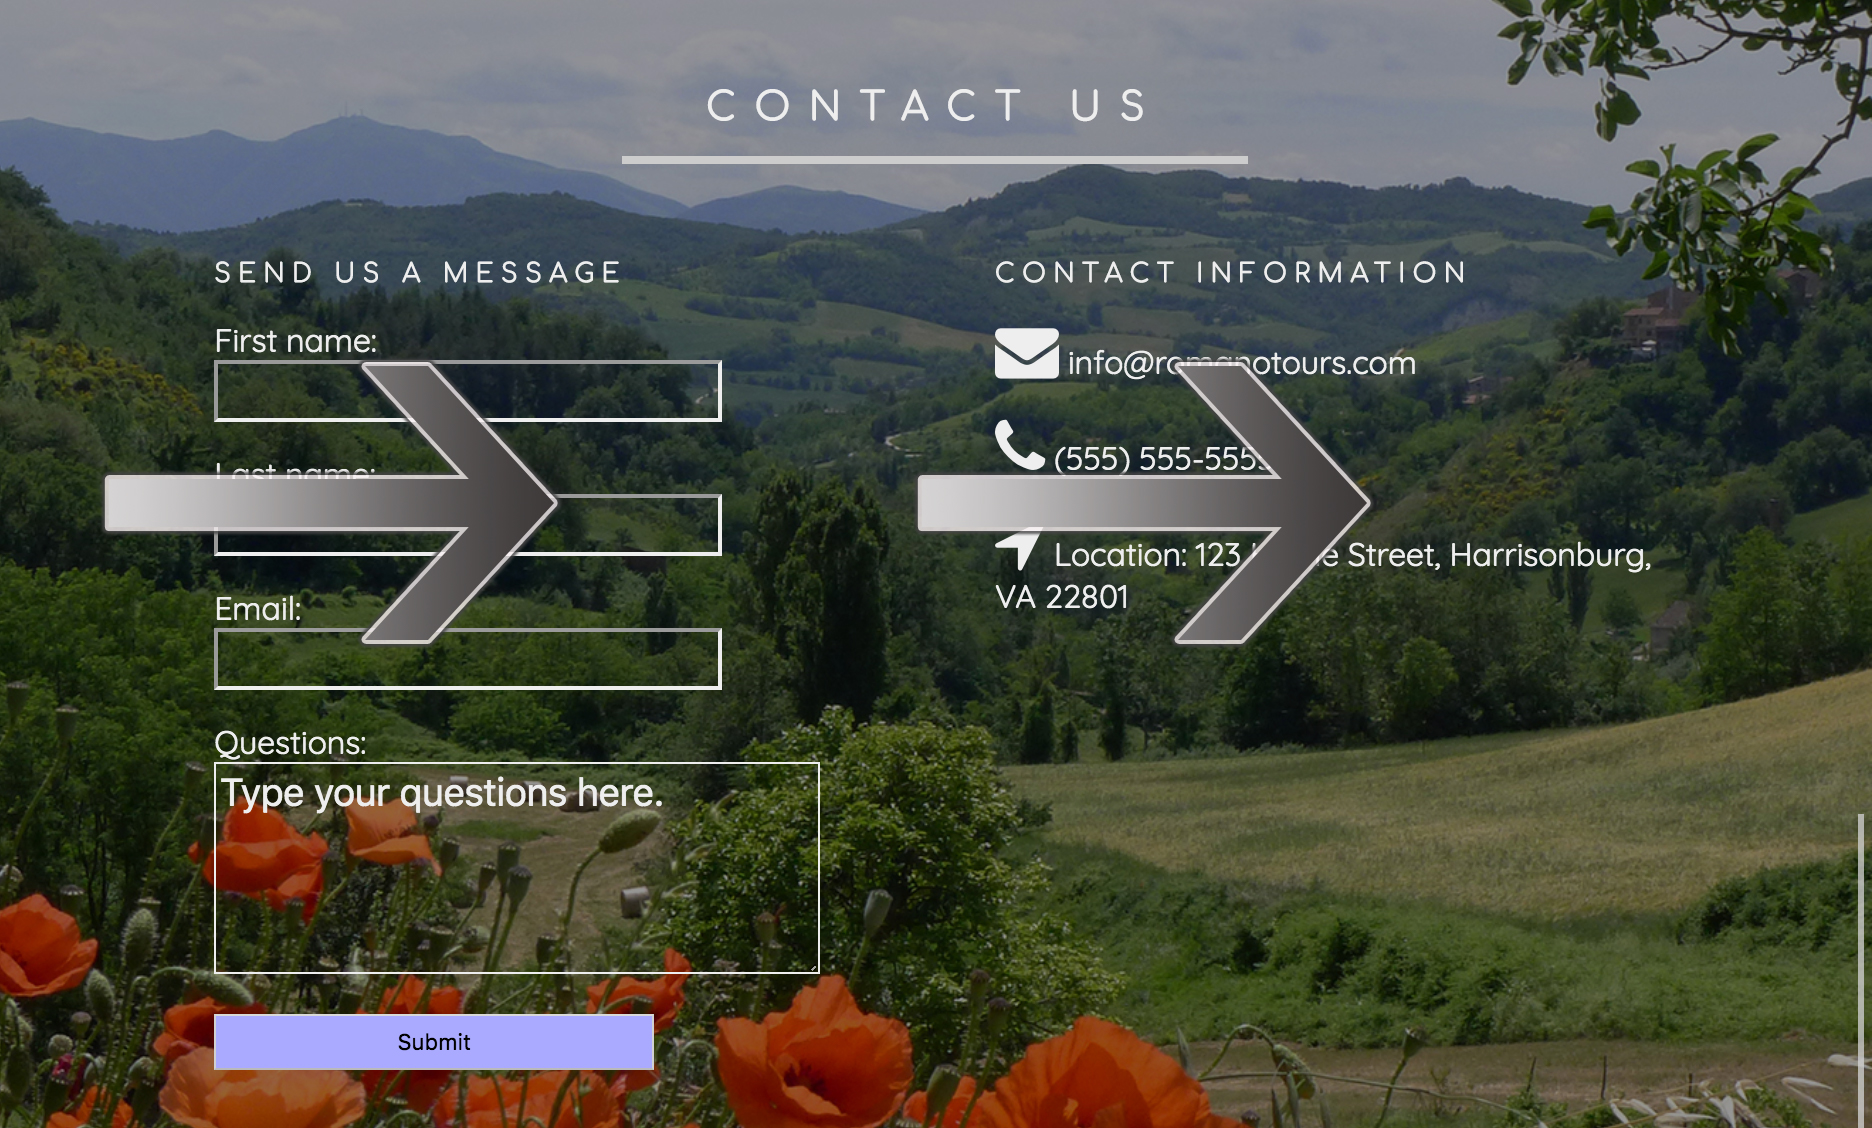
For the next pane, both sections fade right. In other words, the move from the left side toward the right.
10. Apply the following AOS attributes to the elements listed below.
<div class="contact-form" data-aos="fade-right" data-aos-duration="2000" data-aos-delay="200">
<div class="contact-info" data-aos="fade-right" data-aos-duration="2000" data-aos-delay="200">
Feel free to make changes to the animations to see other parameters. For example, you can make changes to the animation type (fades, flips, slides, and zooms), duration, delay, easing, offset, and placement. Examples can be seen here: https://michalsnik.github.io/aos